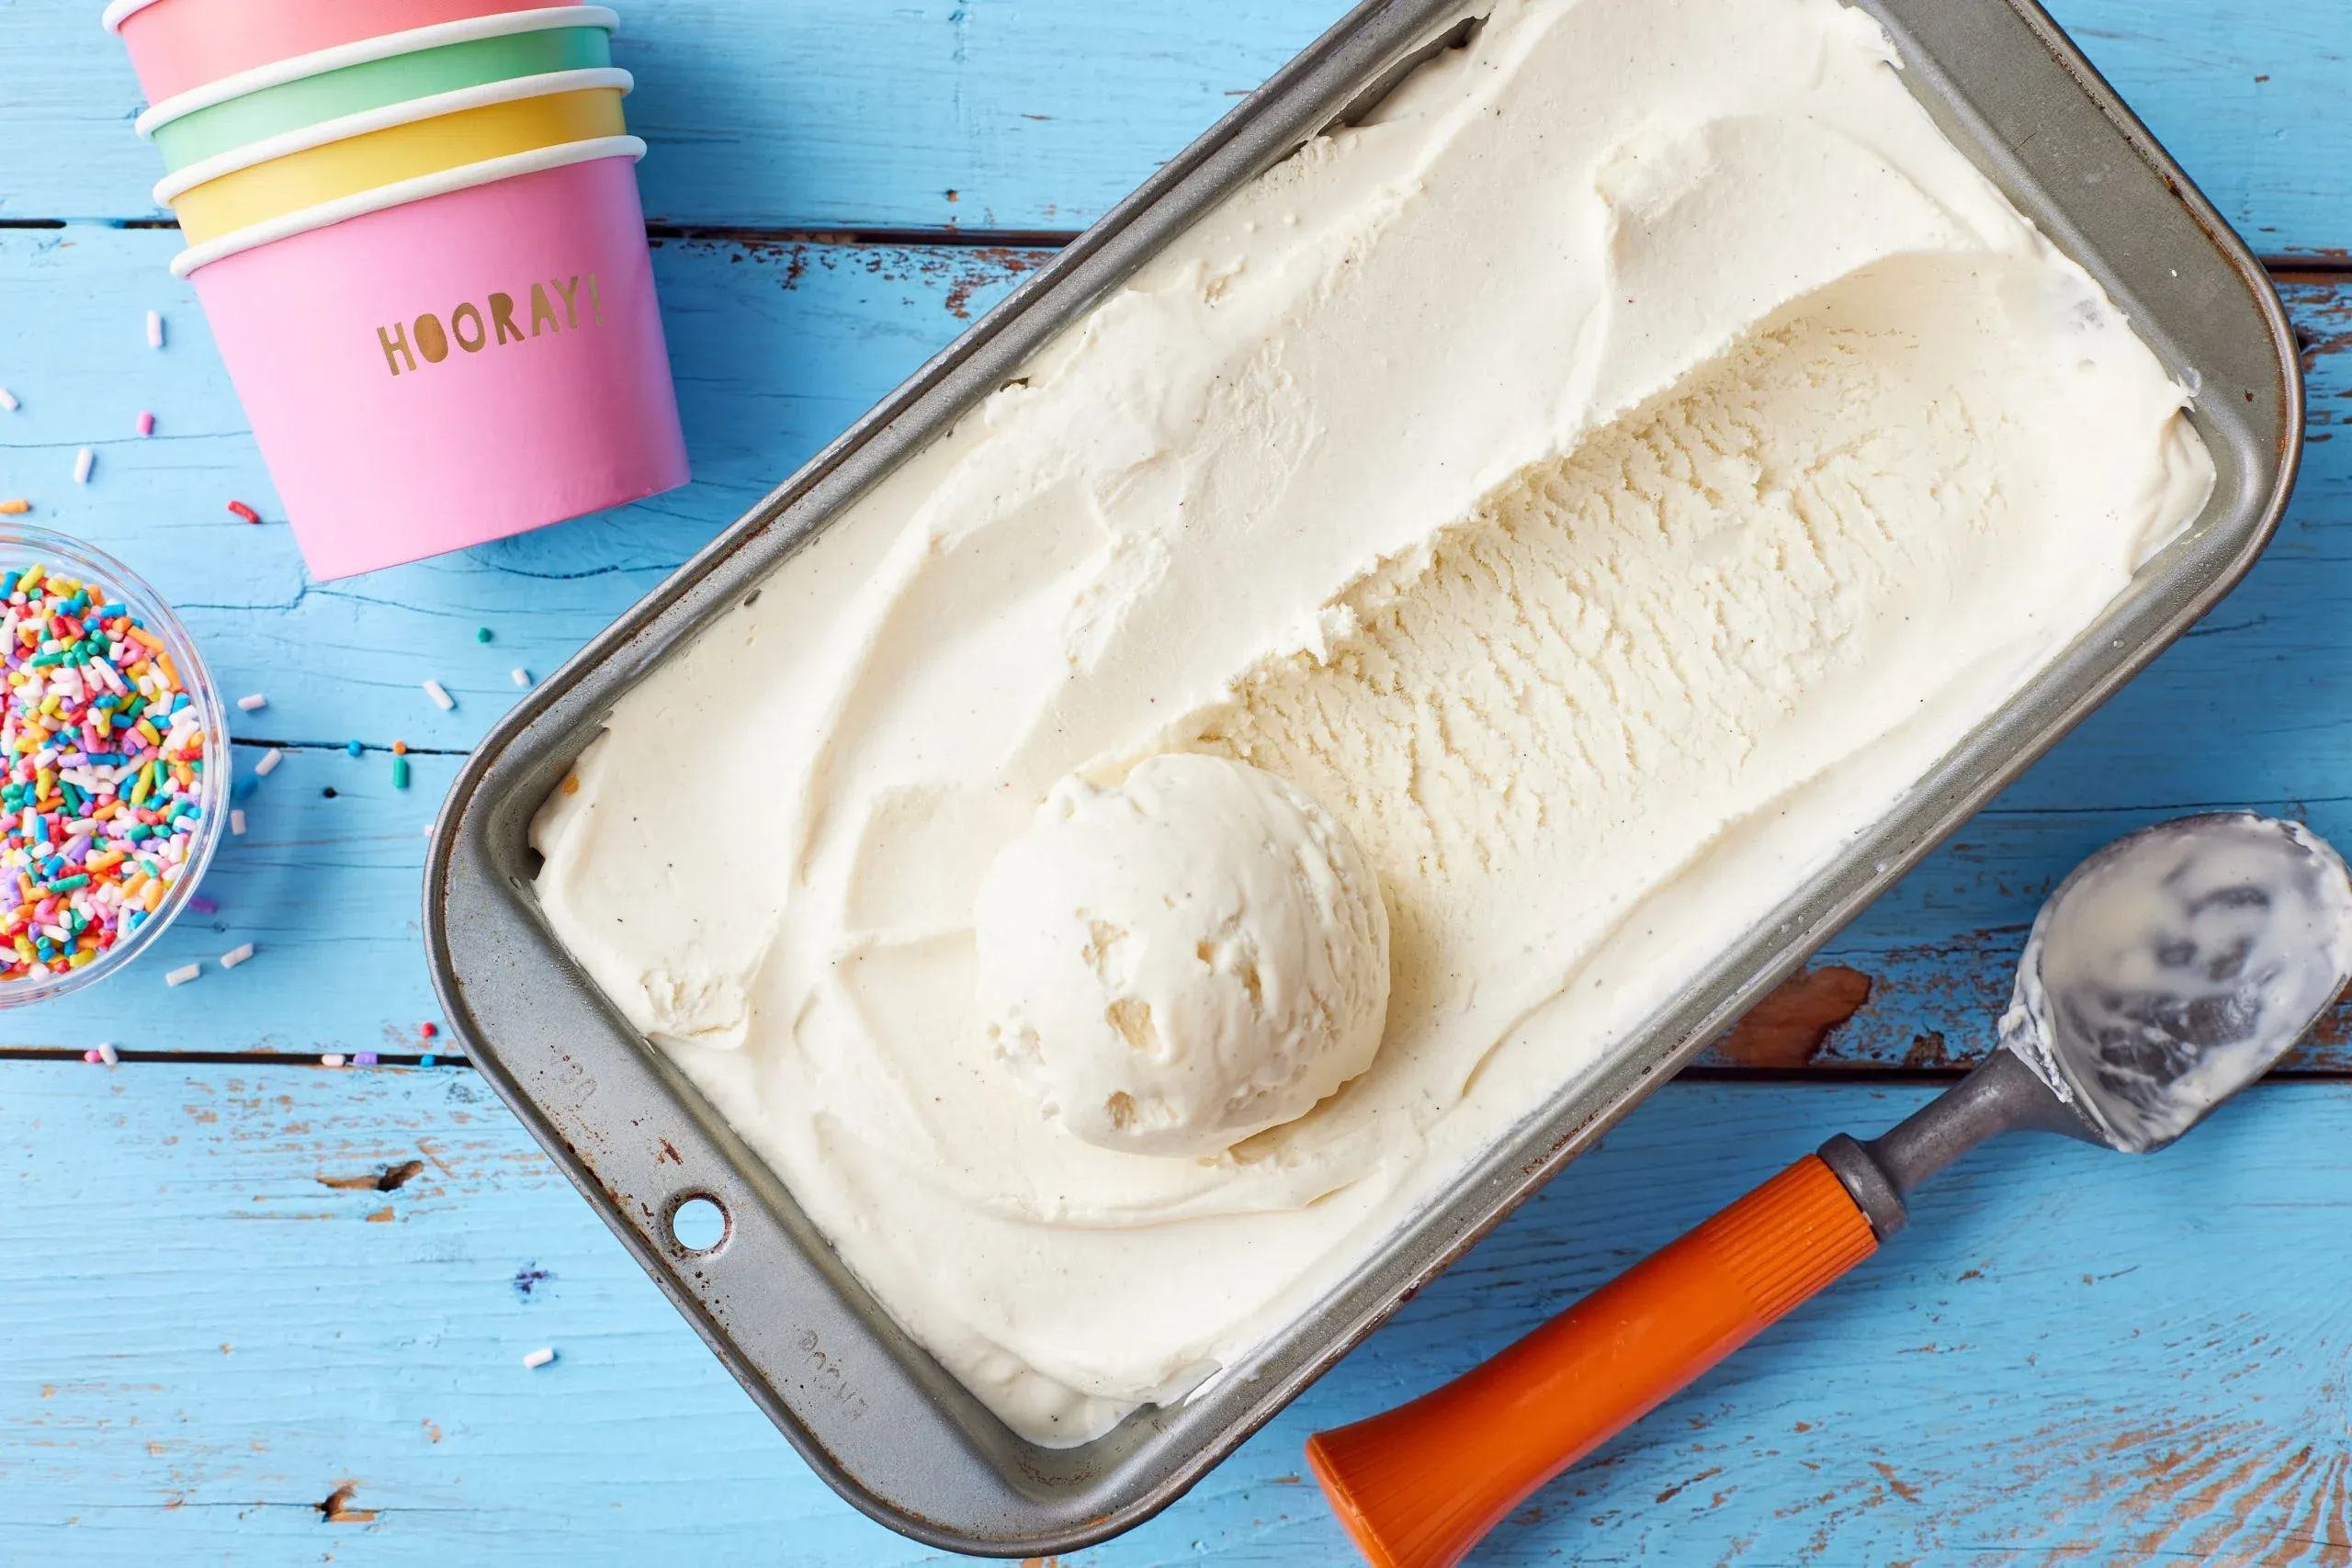
Vanilla ice cream is one of the most beloved desserts in the world. Its smooth texture, creamy flavor, and delicate sweetness make it a timeless favorite on its own and the perfect companion to countless desserts. While store-bought versions are convenient, making vanilla ice cream at home allows you to control the ingredients, customize the flavor, and enjoy a fresher, richer result.
This complete guide will walk you through everything you need to know about how to make vanilla ice cream at home. From understanding the ingredients and equipment to mastering techniques and troubleshooting common issues, this page is designed to help beginners and experienced home cooks alike create exceptional vanilla ice cream.
Why Make Vanilla Ice Cream at Home
Homemade vanilla ice cream offers several advantages over commercial options.
First, you control the quality of ingredients. You can use fresh cream, real vanilla, and avoid artificial flavors, stabilizers, and preservatives. Second, homemade ice cream allows customization. You can adjust sweetness, richness, and texture to your liking. Third, the flavor of freshly made vanilla ice cream is often more vibrant and complex than store-bought versions.
Finally, making ice cream at home is a rewarding process. Watching a liquid custard transform into a creamy frozen dessert is both satisfying and fun.
Understanding What Makes Great Vanilla Ice Cream
Before diving into the recipe, it helps to understand the basic components of vanilla ice cream and their roles.
Dairy Base
The dairy base provides creaminess and structure. Most classic vanilla ice cream recipes use a combination of heavy cream and whole milk. Heavy cream contributes fat for richness, while milk lightens the texture.
Sweetener
Sugar not only sweetens the ice cream but also affects its texture. It lowers the freezing point, helping the ice cream remain scoopable instead of icy.
Eggs or No Eggs
Traditional vanilla ice cream often uses egg yolks to create a custard base. This style is known as French-style ice cream and results in a richer, smoother texture. Eggless versions, often called Philadelphia-style ice cream, rely on cream and milk alone for a lighter taste.
Vanilla Flavoring
Vanilla is the star ingredient. The quality and form of vanilla you choose have a major impact on the final flavor.
Types of Vanilla to Use in Ice Cream
Choosing the right vanilla is essential for making exceptional vanilla ice cream.
Vanilla Beans
Vanilla beans provide the most intense and complex flavor. When split and scraped, the tiny black seeds infuse the ice cream with aroma and visual appeal.
Vanilla Extract
Pure vanilla extract is a convenient and widely available option. High-quality extract made from real vanilla beans delivers excellent flavor.
Vanilla Paste
Vanilla paste combines vanilla extract with vanilla bean seeds. It offers strong flavor and visible specks, making it a popular choice for homemade ice cream.
Avoid imitation vanilla flavoring if possible, as it lacks the depth and warmth of real vanilla.
Essential Equipment for Making Vanilla Ice Cream
While it is possible to make ice cream without special equipment, having the right tools makes the process easier and more consistent.
Ice Cream Maker
An ice cream maker churns the base while freezing it, incorporating air and preventing large ice crystals. There are several types available, including freezer bowl models and compressor machines.
Saucepan
A medium saucepan is used to heat the milk, cream, and sugar, and to cook the custard if using eggs.
Mixing Bowls
Heatproof bowls are useful for mixing eggs, cooling the custard, and preparing the ice cream base.
Whisk and Spatula
A whisk helps blend ingredients smoothly, while a spatula is useful for scraping the sides of the pan and bowl.
Fine-Mesh Strainer
Straining the custard removes any bits of cooked egg and ensures a silky-smooth texture.
Ingredients for Classic Vanilla Ice Cream
Here is a standard ingredient list for a rich, custard-based vanilla ice cream.
- Heavy cream
- Whole milk
- Granulated sugar
- Egg yolks
- Vanilla beans or pure vanilla extract
- A pinch of salt
Step-by-Step Guide to Making Vanilla Ice Cream
Step One: Prepare the Vanilla
If using vanilla beans, split them lengthwise and scrape out the seeds. Add both the seeds and the pod to the milk and cream to infuse maximum flavor.
If using vanilla extract or paste, it will be added later after cooking.
Step Two: Heat the Dairy
Combine the milk, cream, half of the sugar, vanilla bean seeds, and the pod in a saucepan. Heat gently over medium heat until the mixture is hot but not boiling. Stir occasionally to dissolve the sugar.
Heating the dairy helps extract flavor from the vanilla and prepares the mixture for the custard.
Step Three: Whisk the Egg Yolks
In a separate bowl, whisk the egg yolks with the remaining sugar until the mixture becomes pale and slightly thickened. This step ensures a smooth custard and prevents graininess.
Step Four: Temper the Eggs
Slowly pour a small amount of the hot dairy mixture into the egg yolks while whisking constantly. This process, known as tempering, gradually raises the temperature of the eggs without scrambling them.
Once tempered, pour the egg mixture back into the saucepan with the remaining dairy.
Step Five: Cook the Custard
Cook the mixture over low to medium heat, stirring constantly with a spatula. The custard is ready when it thickens enough to coat the back of the spatula and holds a clear line when you run your finger through it.
Do not let the mixture boil, as this can cause curdling.
Step Six: Strain and Cool
Remove the custard from heat and strain it into a clean bowl to remove the vanilla pod and any cooked egg bits. Add vanilla extract or paste if using.
Allow the custard to cool slightly, then cover and refrigerate for at least four hours or overnight. Chilling the base improves flavor and texture.
Step Seven: Churn the Ice Cream
Once the base is thoroughly chilled, pour it into your ice cream maker and churn according to the manufacturer’s instructions. The mixture will gradually thicken and increase in volume as air is incorporated.
Step Eight: Freeze Until Firm
After churning, the ice cream will have a soft-serve consistency. Transfer it to an airtight container and freeze for several hours until firm.
How to Make Vanilla Ice Cream Without Eggs
If you prefer an eggless version, you can make vanilla ice cream using a simple cream base.
Combine heavy cream, whole milk, sugar, vanilla, and salt. Heat just enough to dissolve the sugar, then chill thoroughly before churning.
This style produces a lighter, cleaner vanilla flavor and requires fewer steps, making it ideal for beginners.
Making Vanilla Ice Cream Without an Ice Cream Maker
You can still make vanilla ice cream without specialized equipment.
One method involves pouring the chilled base into a shallow container and freezing it. Every 30 minutes, remove the container and whisk or stir vigorously to break up ice crystals. Repeat this process several times until the ice cream is firm.
While this method requires more effort, it can still yield good results.
Tips for Perfect Texture and Flavor
Use Cold Ingredients
Starting with a well-chilled base helps the ice cream freeze faster, resulting in smaller ice crystals and a smoother texture.
Do Not Overcook the Custard
Overheating can cause the eggs to curdle, leading to a grainy texture. Gentle heat and constant stirring are key.
Balance Fat and Sugar
Too little fat or sugar can result in icy ice cream, while too much can make it overly soft. Stick to proven ratios for best results.
Allow Proper Freezing Time
Ice cream continues to firm up after churning. Giving it enough time in the freezer improves scoopability and structure.
Common Mistakes to Avoid
Many home cooks encounter similar challenges when making vanilla ice cream for the first time.
One common mistake is skipping the chilling step. Warm bases do not churn properly. Another mistake is using low-fat dairy, which leads to icy texture. Overloading the ice cream maker can also prevent proper freezing.
Being patient and following each step carefully greatly improves the final outcome.
Flavor Variations Using Vanilla Ice Cream as a Base
Once you master classic vanilla ice cream, it becomes a foundation for countless variations.
You can add:
- Chocolate chips or chunks
- Crushed cookies
- Swirls of caramel or fudge
- Fresh fruit or fruit purees
- Nuts or toasted coconut
Add mix-ins during the last few minutes of churning to distribute them evenly.
Storing Homemade Vanilla Ice Cream
Proper storage preserves flavor and texture.
Store ice cream in an airtight container with a layer of parchment paper pressed directly onto the surface to prevent ice crystals. Keep it at the back of the freezer, where temperature fluctuations are minimal.
Homemade ice cream is best enjoyed within one to two weeks.
Nutritional Considerations
Vanilla ice cream is an indulgent treat, but making it at home allows you to adjust sweetness and portion size. You can also experiment with alternative sweeteners or dairy-free options if desired.
While not a health food, homemade vanilla ice cream can be enjoyed as part of a balanced diet.
Why Vanilla Ice Cream Never Goes Out of Style
Vanilla ice cream remains popular because of its simplicity and versatility. Its flavor enhances other desserts without overpowering them, and it appeals to a wide range of tastes.
From childhood memories to gourmet creations, vanilla ice cream holds a special place in culinary traditions around the world.
Final Thoughts on How to Make Vanilla Ice Cream
Learning how to make vanilla ice cream at home is a rewarding experience that combines technique, patience, and creativity. By using high-quality ingredients, following proper methods, and understanding the science behind ice cream making, you can create a dessert that rivals or surpasses anything from the store.
Whether you prefer a rich custard-based version or a lighter eggless style, homemade vanilla ice cream offers unmatched freshness and flavor. With practice, you will gain confidence and discover endless ways to customize this classic dessert to suit your taste.